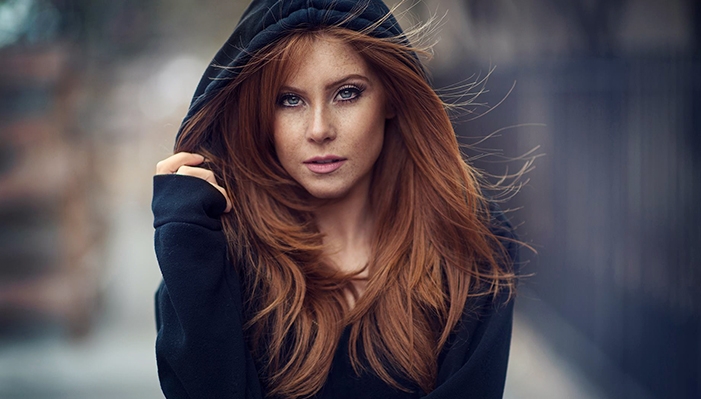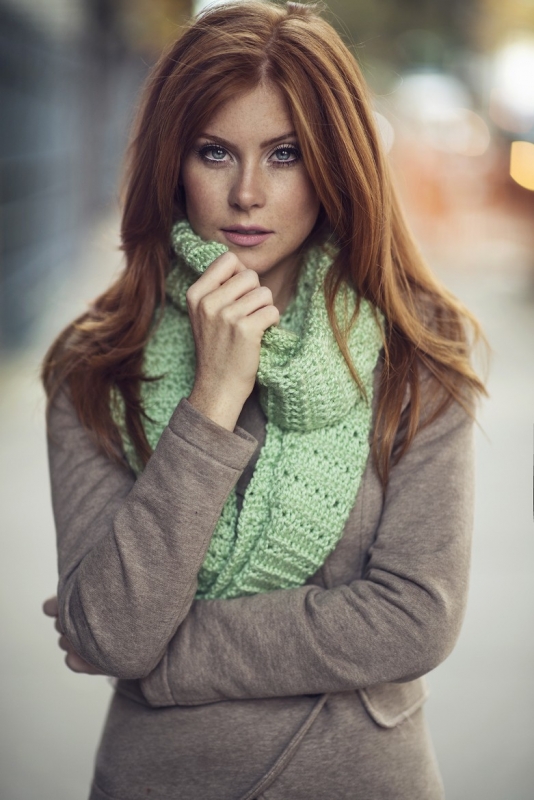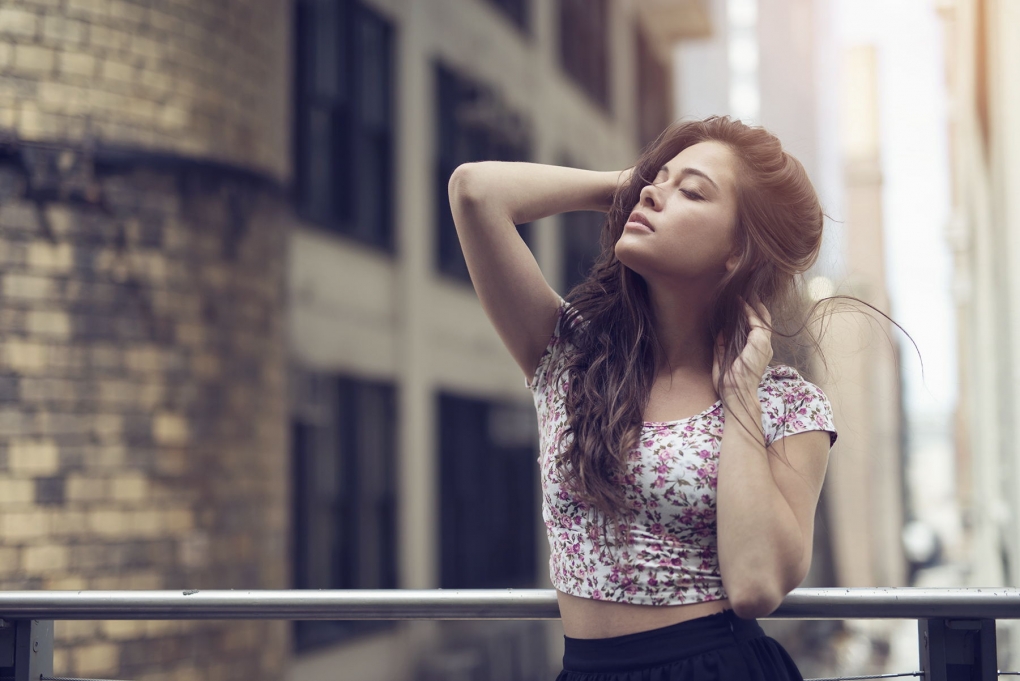
via fstoppers by Dani Diamond
Many people will avoid picking up a camera because they think they don’t have an eye for photography. Contrary to popular belief, it doesn’t take talent to capture a solid portrait. It takes skill and the motivation necessary to master those skills. Portrait photography can be dealt with as an equation; with just a set of rules and guidelines, it’s possible to take jaw dropping, natural light portraits tomorrow. Here are seven steps to master portraits using natural light only.
Picking up a camera for the first time and pointing it at a subject can be quite overwhelming. Further, shooting for years and never finding satisfaction with the portraits captured can be frustrating. If the majority of the following steps are mastered, the results are guaranteed to turn people’s heads. The ambition necessary to master these rules will allow for a photographer to go above and beyond the person who is “born with the eye.”
People tend to forget that a portrait without a REAL expression does not connect to the viewer. Humankind wants to see genuine emotion and not a posed, cheesy smile. This is more important than location, light and expensive gear. Clients will more often than not choose the blurry images with bad compositions if it means those images are honest portrayals of themselves.
The first thing people look at is the connection the subject has with the camera. The only way to achieve that is to make the subject comfortable. A Vital Detail Often Ignored is an in depth guide on how to make a subject feel natural in front of the camera.
The purpose of properly composing images is to attract the viewer’s eye straight to the most important detail of the portrait—the subject’s face and more specifically, the eyes. This is where two important rules kick in: rule of thirds and depth.

It is scientifically proven that the eye is most attracted to four different points of an image. Sticking with these four points will help frame the subject in the most pleasing manner. Further, when taking photographs, it goes without say that the images produced will be 2-dimensional. To make it look 3-dimensional and to make the subject pop out of the frame, there must be depth in the composition. An image’s foreground, middle ground and background are essential in achieving the necessary depth. This article on bokeh discusses this concept in depth.
The topic of light deserves it’s own article but to be concise, there are two important things to keep in mind. Just like artificial light is very directional, natural light needs to be this way too. It is for this reason that using window light is so popular.

Further, when shooting outdoors, consciousness of the direction of light is intrinsic. To achieve the best lighting, have the subject face the light source. For example, using the beam of light coming from the ends of the street in narrow alleys or the light coming from the large opening in storefronts or garages. The above image was taken miday in the door way of a bar. In the case of open fields, the light oftentimes comes from above head. In instances like that, tilting the subjects face slightly upward towards the light has proven to be affective.

The second rule is time of day. Although cliché and contrite, the golden hour is a real thing. Most importantly, it’s free and possibly the best quality light any photographer will ever use if used appropriately. An hour before sunset, the entire sky is one huge soft box. Harsh light that results from direct sunlight is very difficult to work with.
It is very easy to get carried away with settings and gear. Oftentimes, the best advice is to take one lens and on camera body on a shoot. The less gear, the easier it is to concentrate on every other aspect. People are not interested in seeing a technically perfect portrait. They want to see a creative portrait.
Moreover, every DSLR has an aperture priority mode. This setting allows the photographer to choose the f-stop and iso, while the camera chooses the right shutter speed to expose the image properly. Why not let the camera do the extra homework, while the photographer focuses on more important details? Sometimes the camera will not do a good job in choosing the shutter speed, which can be easily overrided with the exposure compensation setting. This is easier and less time consuming than re-adjusting all the manual settings every time the location is switched.

Choosing the proper focal length is very important. The focal length has the potential to distort the subject’s head in one way or another. The longer the focal lengths, the more flattering it is for the subject and the shallower the DOF will be. Personally, I find that the 85mm on a full frame camera and the 50mm on a cropped sensor to be the optimal portrait lengths. Both are wide enough to capture the surrounding scenery with the appropriate distance and also with a few steps forward, they can achieve tighter portraits. Fixed prime lenses such as the 50mm or 85mm are fast lenses with wide apertures that will help shoot at wide settings. This is important when you want to melt away distracting backgrounds. My latest article expounds in great length on this point.
When it comes to choosing clothing, backgrounds and even toning in Photoshop following the complimenting colors makes a huge difference.

Notice the complementing colors in the color wheel. Chose clothing that compliments the skin or the background colors of the location. This is make the subjects stand out.

I’m not going to lie. Personally, when it comes to posing I have a very difficult time. Hand placement can make or break a photo. If it doesn’t look natural it stands out like a sore thumb. What I’ve found helpful is scrolling through images on 500px on my phone every night and taking screen shots of inspiring poses. On my shoots I whip out my phone and look through these screenshots for ideas. With time, your gun will be locked and loaded with hundreds of poses. Remember, it’s all about placing your subjects in the most flattering positions. Top 48 Photogaphers to Follow on 500px
To conclude the above 7 steps are just topics to consider when taking portraits. Rules are meant to be broken. Consider these tips and you will walk away with solid portraits, but also let your own ideas and visions shine through.