@乱流:该文已由@breeze 翻译
该教程已由@Breeze_45f 翻译完成,查看地址:“减淡”与“加深”技术终极指导:基础篇
Author/JULIA KUZMENKO via Fstoppers
Wikipedia: Dodging and burning are terms that come from analog photography, it is a technique used during the printing process to manipulate the exposure of a selected area(s) on a photographic print, deviating from the rest of the image’s exposure. Dodging – lightening, burning - darkening.
From my teaching experience I see that what I am going to talk about today is the missing link between learning the steps of this technique and actually successfully applying it in your retouching.
So, in Part 1 I will take you on a tour to a beginner painting class, we’ll check out what makes 2-dimensional objects in pictures look like they have planes and volume. And in Part 2 myself and my retoucher-friends Alexey Dovgulya and Lulie Talmor will talk about the ins and outs of the D&B application in Photoshop.
Let’s begin by clarifying that any retouching technique is only that – a technique, and it won’t do you any good, if you don’t have a good understanding of light behavior and human anatomy. If you want to use D&B successfully, you should educate yourself on the basics of light and shadow rendering (as in painting and drawing), the anatomy of human face and body, and observe human faces with greater attention in photos and in real life.
With D&B you can not only even out the surface of objects (for example, skin on faces and body in beauty and fashion photography or product surface in product photography), but sculpt and contour those objects to add volume for greater impact of the image.
With skillful manipulations you can even re-shape facial and body features by shifting shadows and highlights. So let’s see why it is so powerful.
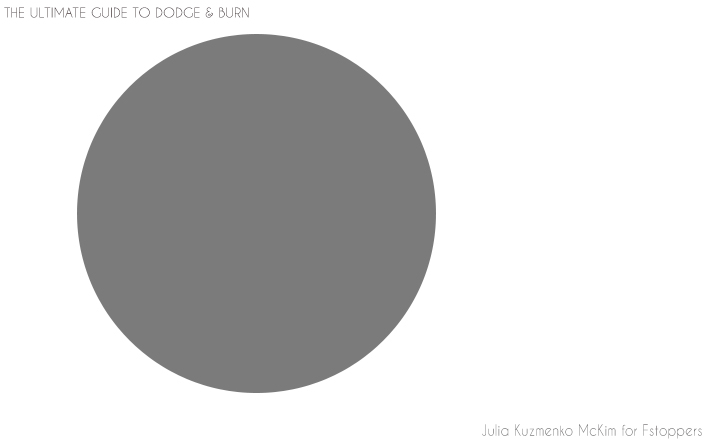
I will start by drawing a sphere in Photoshop. What? It doesn’t look like a sphere? Correct, it definitely doesn’t look like a three-dimensional object, it looks like a gray circle.

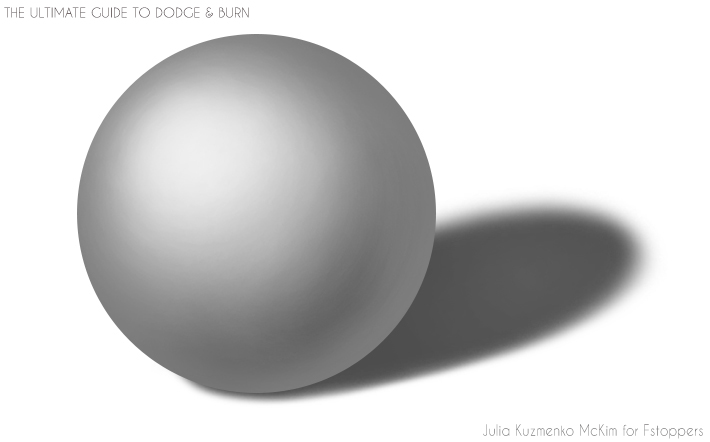
But if I add some highlights and shadows to it with soft white and black brushes, it will immediately start looking more like a 3-dimensional object. It is the same drawing, only this one does look like a sphere:

And the difference is only in these brush strokes (I added the gray background so that you can better see the highlights):

How did I make this sphere look more less like a 3-D object on a 2-dimensional canvas? By respecting physical light behavior in my drawing.
This is the fundamental knowledge that painters learn before they proceed to any advanced painting techniques, and it shouldn’t be any different for retouchers.

1. Highlight occurs where the direct light hits the surface of the object. It always appears on the area closest to the light source and it is the brightest part of the object illuminated by that light source.
None of other areas of the surface can be brighter than the highlight if they are further away from the light source. Unless, of course, the illuminated surface has a different level of reflectivity. For example, the highlights on the face can be in the eyes (catchlights – wet surface of the eyeballs), on the forehead and the nose (the closest areas of skin to the light source) and on the lips (highly reflective surface of lip gloss).
2. Transitional light, 0r the midtones - the light that wraps the object and gets darker as it reaches the surface further away from the light source.
The rate, at which such darkening occurs depends on the angle of the surface in relation to the light source, and of course the viewer’s position. So, the fall off of the light will be the least noticeable on the planes, which face the light source. The fall off will be the shortest and most noticeable on the planes that are slightly turned away from the light, but are still partially exposed to it.

I believe it is most important for retouchers to understand the properties of this element of lights and shadows – the midtones - because we mainly work in the areas of transitional light when we use Dodge & Burn.
One of its physical properties, which I often see being disregarded by beginner retouchers, is that within the area of transitional light the surface that is further away from the light source cannot be brighter than the surface closer to it, given that it is illuminated by one same direct light source and is of the same color value.
The more even the surface the softer and more gradual this transition from light to shadow will be.
When that is not true the surface appears patchy and bumpy – our brain reads those inconsistencies in luminosity values as bumps and hollows on the surface - they catch on the light and cast shadows. So, by evening out those inconsistencies we can create an illusion of more even and smooth surface.
And that is what the Dodge & Burn technique is for when we talk about local retouching of a surface such as skin in beauty photography, or surface of a product in product retouching.

3. Cast shadow - the object blocks the light and shadows the area right behind it on adjacent surfaces and objects. If there are multiple light sources in the scene, there will be multiple cast shadows.
By the softness or hardness of the edge of the cast shadow we can tell what light source was used to illuminate the scene or how far from the object it was. We can read lighting in photographs based on this principle – make sure to read my articles How To “Read” Light In Photography – Part 1 and Part II if this topic is of interest to you.
Cast shadow is always the darkest where it is closest to the object and it softens (gets filled in by reflected light bouncing off of other surfaces), as it gets further away from the object.
Cast shadow may have different colorcasts if there are other objects with colored surfaces near it or when it [cast shadow] is illuminated with a less powerful light source with a color gel on it. I use this property of cast shadows when shooting with color gels to fill in one of the shadows with a color.
4. Core shadow is the darkest part of the shadow and it is the area of the surface of the object that isn’t illuminated by either main or reflected light. This is the darkest out of all other areas of the object’s surface, and it cannot be brighter than transitional light.
5. Reflected light is a bright area on the dark side of the object. The light that bounces off of adjacent surfaces and objects illuminates it.
This light is what I believe makes or breaks lighting in painting and photography. It adds volume to the objects in the scene and is often disregarded by beginner artists. It must be brighter than core shadow or cast shadow.
Now with all of the mentioned above in mind, let’s see what the Dodge & Burn technique can do for us when we are presented with a subject with a surface that does not look as even as we need it to look.

Here’s how I went from the patchy and bumpy surface to even and smooth with the help of six rounds of Dodging & Burning. In the first few rounds I was focusing on smaller areas and patches (“local” Dodging & Burning) and in the last few I was working on a “global” level enhancing the shadows and lights, perfecting the overall shape of the sphere.

This is all for today.
In Part II we will talk about the actual digital photography Dodge & Burn technique. My retoucher-friends and I will share our brush and layer settings for effective and accurate Dodging & Burning, a few variations of the technique and their pros and cons, as well as the use of temporary help layers when retouching skin in beauty, fashion and portrait photography. Stay tuned!